What Goes Up Must Come Down – A Lesson in Lowering from Above
December 6, 2018
The illiterate of the 21st century will not be those who cannot read and write, but those who cannot learn, unlearn, and relearn…
-Alvin ToffleSeldom taught are quality methods for lowering a climber from above. Yet this skillset, which often gets lumped in with other multi-pitch processes like rappelling, anchor building, and transitions, is an important tool if you’re interested in longer and more adventurous routes. And although it’s sometimes framed as a ‘just-in-case’ type of tactic, there are many reasons we may wish to lower a climber from a top anchor.
It’s a good response to potential mistakes like dropping a belay device during rappels or forgetting/retrieving something from below, and a quick way to descent in bad weather. Some locations like Otter Cliffs in Acadia and many of the top pitches on Cathedral Ledge are best accessed for top roping by lowering down from the top. Additionally, this skill’s proper application may get us a few more pitches in or an earlier return to the car, pizza, and beer (in that order).
In this three-part series, we’ll introduce a number of techniques, backups, and cautionary notes about lowering from above. Here in part one, let’s go over the fundamental techniques and backup strategies. As always, please seek qualified in-person instruction before attempting any of these techniques for the first time. Check out our Skills Seminars or personal instruction for more info.
The Techniques
STANDARD REDIRECTS
The same as lowering from the ground! Clip the follower’s rope into a locking carabiner in the master point. Keep both hands firmly on the brake strand and in the brake position while allowing the rope to gradually pass through. Simple and effective, this technique works great if you plan to lower your climber following the belay.
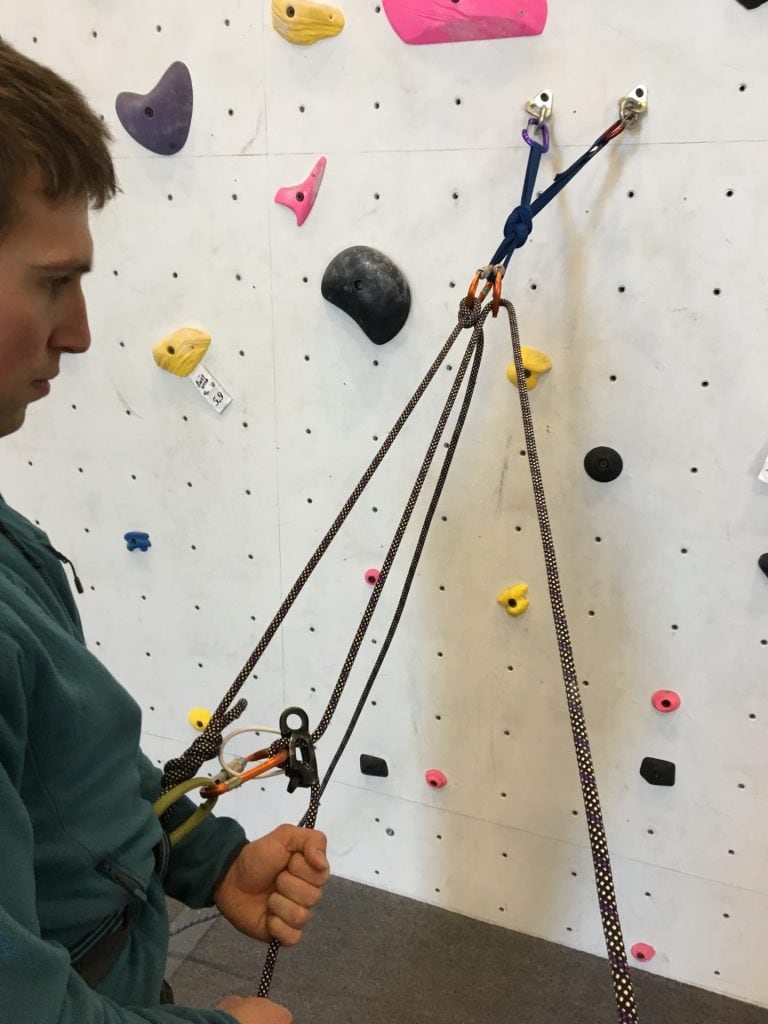
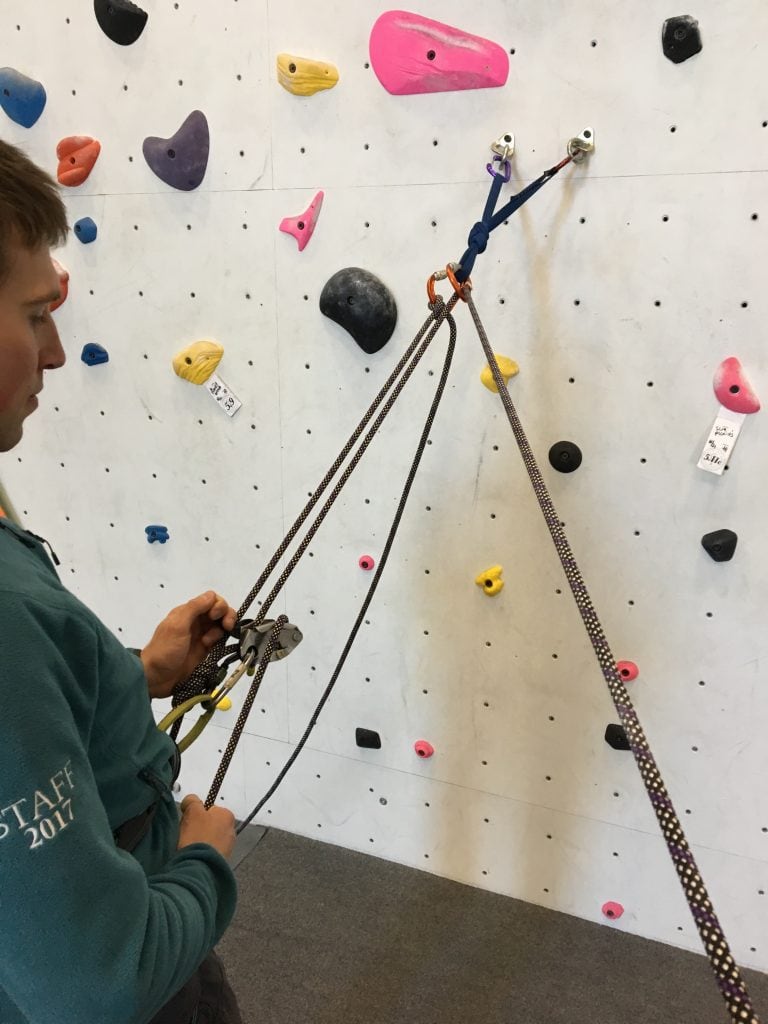 As our anchors and technology advance, climbers increasingly prefer to belay directly off the anchor. While more comfortable and efficient, our lowering methods need to reflect this difference in belay technique. Multiple methods achieve the same purpose. Our preference depends on a variety of factors such as available gear on hand, experience, time constraints, and the situation we are in.
MUNTER HITCH
A rather old school technique, it worked so well that we had to complicate it… The Munter hitch provides a fine lower directly from a carabiner, making it ideal if you don’t have your standard belay device. It can add twists to the rope, but these can be greatly minimized by keeping the brake and load strands closer together. Additionally, a large pear shaped, and rounded stock carabiner, works best. Check out this AMGA video to see it in action.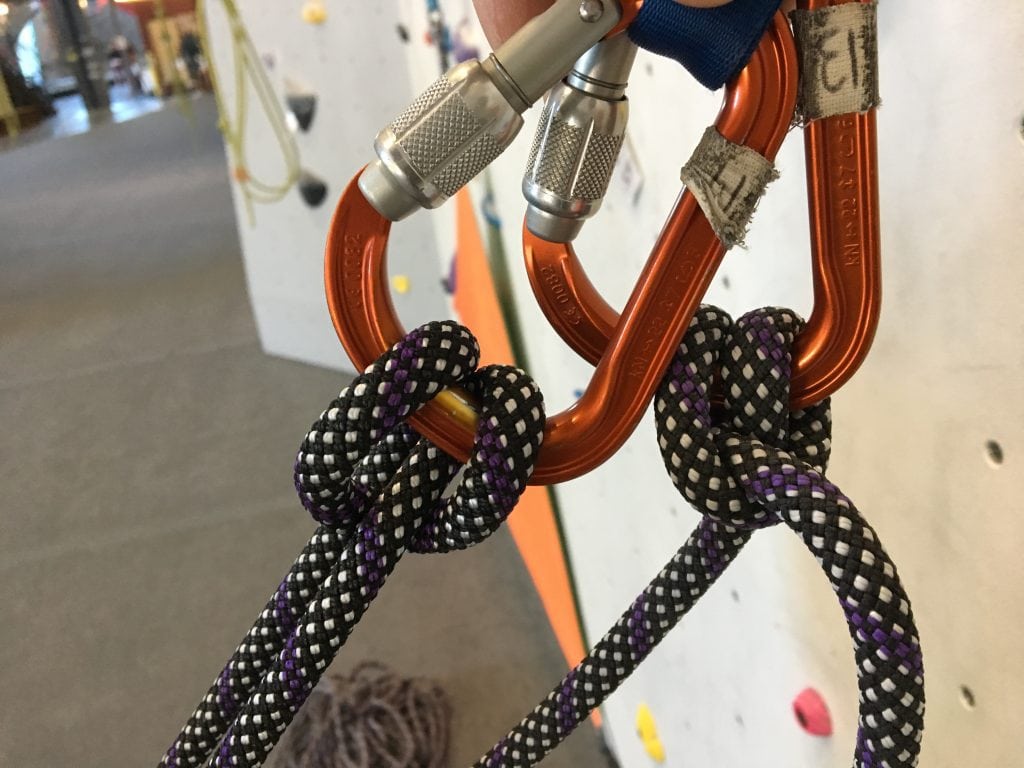
ASSISTED BREAKING DEVICES (aka the Grigri)
Let the haters hate! Belaying with the Grigri from above is easy to assemble, reduces wear on the precious elbows, and for our purposes, makes transitioning to a lower a breeze. We must however increase friction by redirecting the brake strand; not doing so continues to result in accidents. To lower, first have the climber lean back and engage the Grigri’s braking mechanism. Then, redirect the brake stand into another carabiner (non-locking is fine) ensuring it runs over the smooth flange. Finish by progressively pulling back the handle until the appropriate speed is reached. It is most ergonomic, to be standing slightly behind the device. Check out the video of this in action.
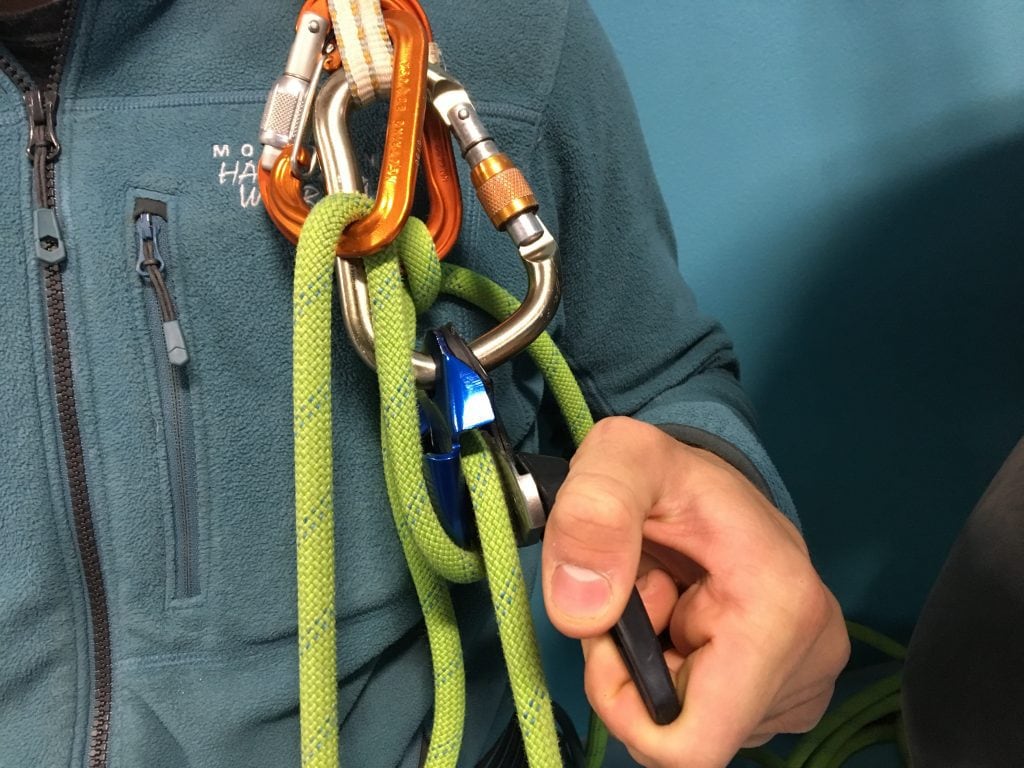
BRAKE STRAND REDIRECT (ATC Guide/Petzl Reverso)
More complicated to remember, and harder to transition to while belaying, the brake-strand redirect nonetheless provides a smooth and secure lower directly off the anchor using the belay device we probably all have on us. This is best used if you wish to lower your climber with a tubular style belay device, but have them independently attached to the anchor (clove hitch/personal tether) as it avoids the need to transition during a belay. Make sure the redirected carabiner is the same size or smaller as the belay device carabiner; this will provide the adequate friction.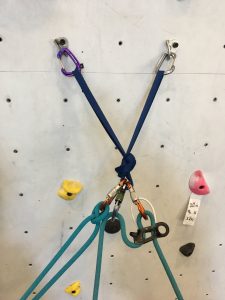
Back Ups
Redundancy is synonymous with most of our climbing experiences. Nothing should fail or go wrong, but if it did, there is additional security in place. Belaying is the redundancy or back-up to the climber’s movement skills and ability to not fall. However, lowering is different. In the same way we back up our rappels, it is best practice to backup our lowers. This is especially true as the terrain and other variables increase in complexity, much like when we belay from above. A couple options:GRIGRI
Another win for the Grigri and similar devices! The Grigri’s built in braking mechanism is its backup, just make sure you are using the device properly (see above).AUTO BLOCKS
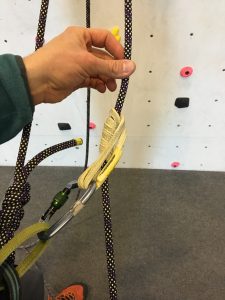
Belonging to the friction hitch family, the auto-block is the preferred choice for backing up rappels or lowers. This is because it provides sufficient friction, while still easily releasing under load, a must for smooth lowers! Small diameter accessory cord works, or our preference, Sterling’s Hollowblock. More wraps increase the friction or holding power. Your rope diameter, environmental conditions (rain/ice), and lowering method all dictate the number of wraps required. As always, check that it grabs before committing to it. Whenever possible, we clip the auto-block with a locking carabiner into our belay loop. While harness dependent, clipping into the leg loop is an alternative when not belaying directly off the anchor.