The Home Sessions: Will on Shoulder Stability
Hey Folks,
A lot of things have changed lately and I know many of you have been adapting to the new normal… It’s important to strive to find balance during such a dynamic time, and keeping our bodies balanced is important for when we return to the sport we love. These shoulder workouts are designed to complement the pulling nature of climbing and help with shoulder stability. I’ve been battling chronic shoulder dislocations since I was 16 and I’ve been able to avoid surgery by keeping up with my shoulder exercises. Take it from me: if you’re doing any sort of climbing-specific pulling exercises at home, like pull ups or inverted rows, you should be doing some stability work to ensure muscle balance.
Stay healthy and keep the stoke high!
I’ll see you soon,
Will
A Note About Weights
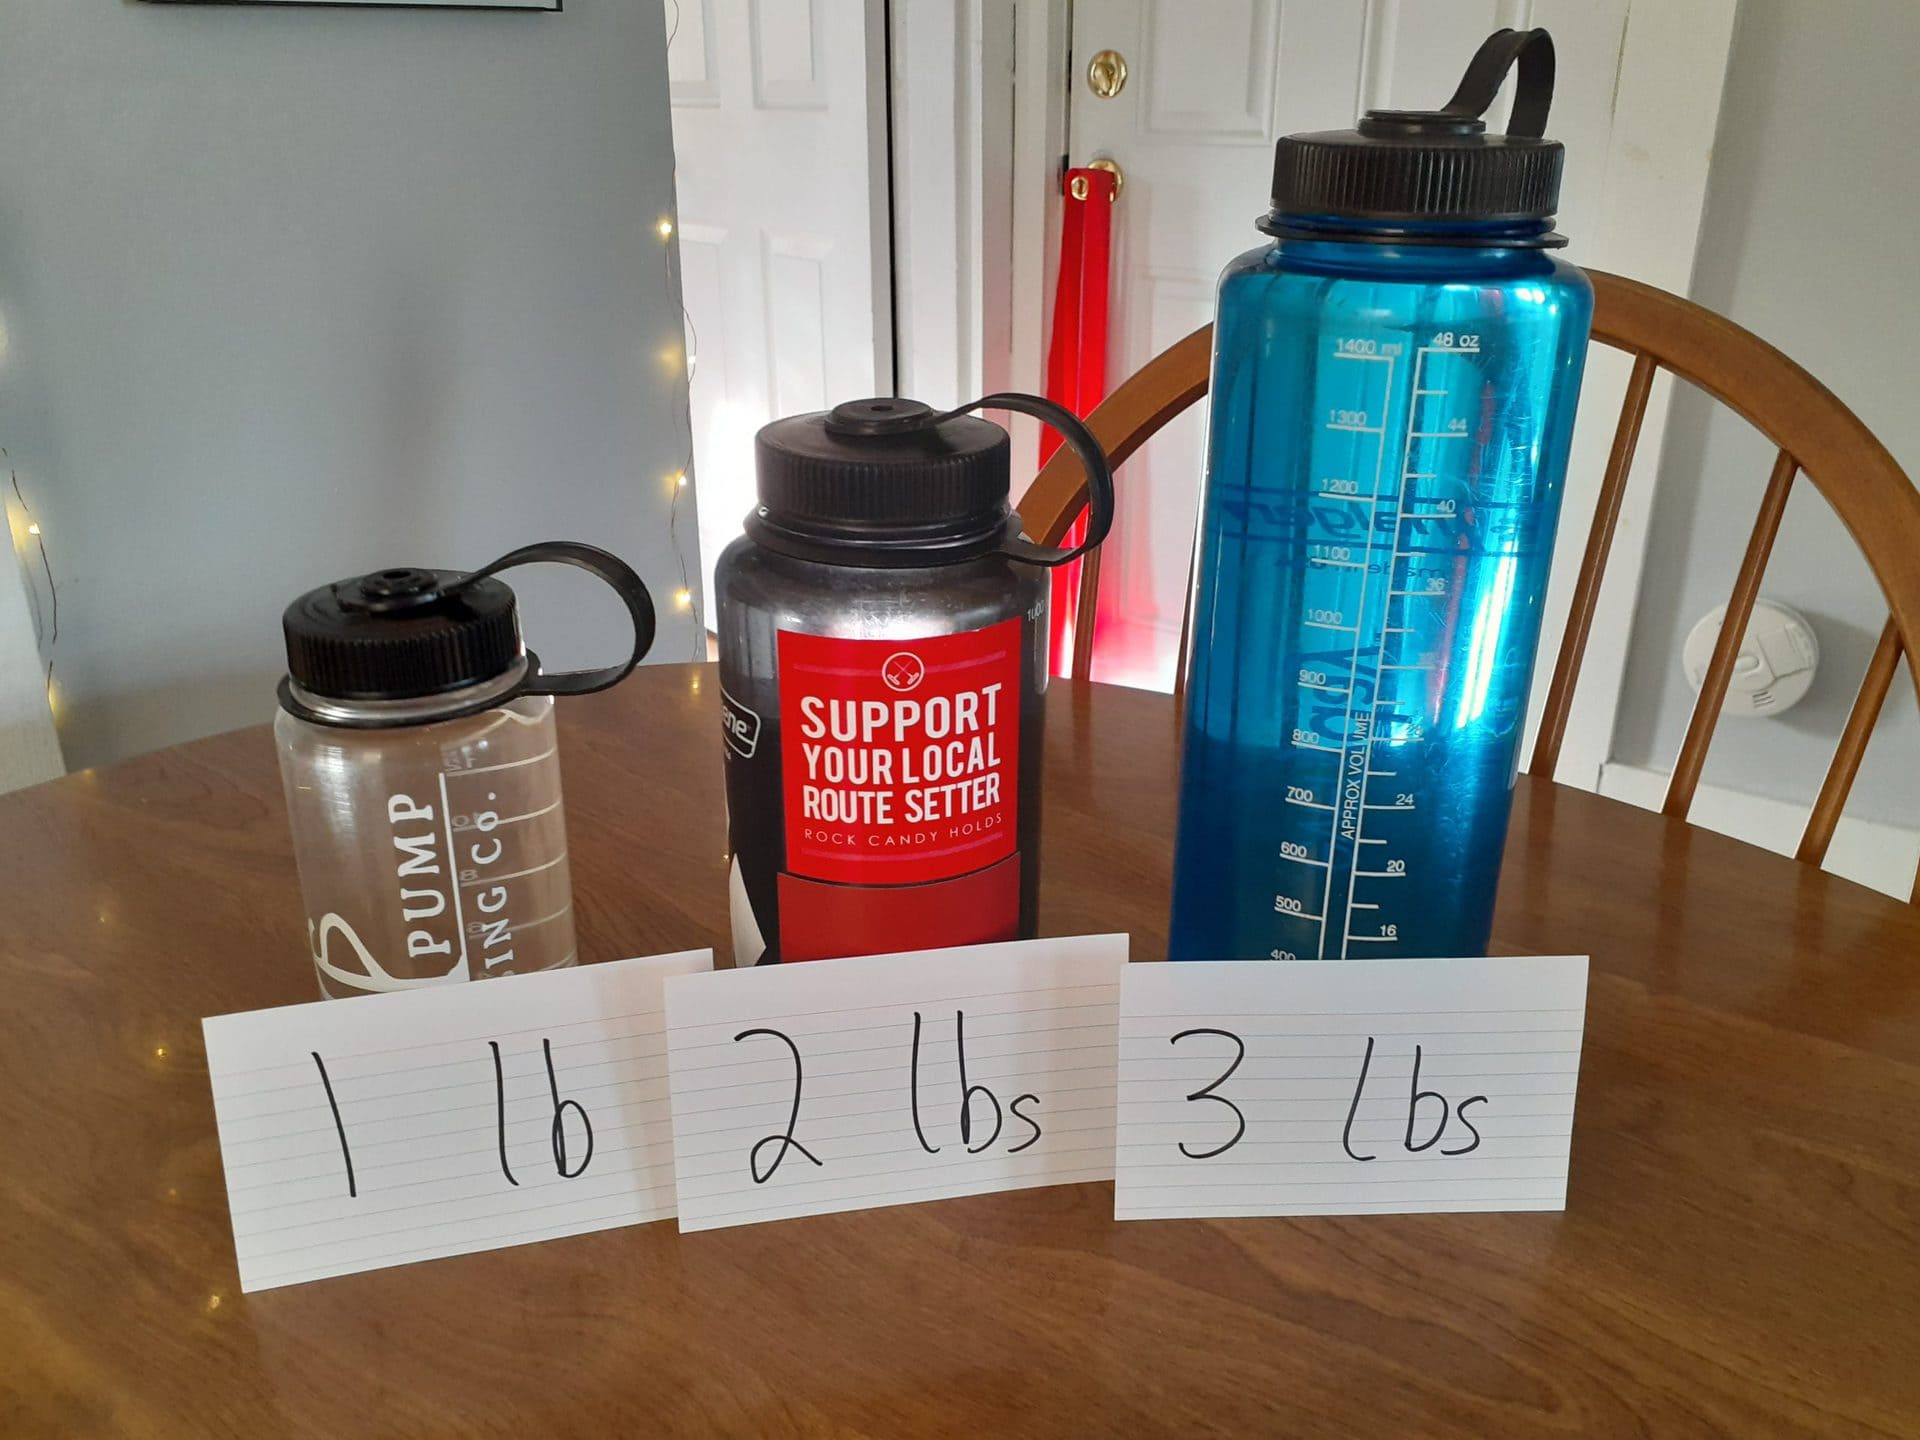
Weighing water, 500 ml is ~1 lb. That means a normal Nalgene water bottle is ~2 lbs and the mini Nalgenes are ~1 lb. I also have a tall boy that’s 1500 ml and weighs ~3 lbs. There’s a lot you can do with those weights and I like the simple shape of the bottle to grip.

Exercise 1: Internal & External Rotations
This exercise targets the rotator cuff. The goal is to get that sweet burning sensation in your shoulder. Go light with the weights to start on this one. A heavy weight is more likely to cause injury in the small muscles that this exercise targets. I find 3 lbs is a good weight for me. It’s also a good idea to warm up fully and don’t do these exercises before any strenuous upper body workout. If your stabilization muscles are fatigued then you’re more likely to get injured. Remember to keep your arm bent at 90° and keep your elbow still against your side. I do about 15 – 20 reps of external rotation (where my arm is on top) and 30 – 40 reps of internal rotation (where my arm is on the bottom).
Exercise 2: Prone ITY’s
The name of this exercise is a visual representation of the shape of your body. Laying prone with your arms by your side (I shape), lift your arms up toward the ceiling and back down. Make sure you squeeze your shoulder blades together like you’re pinching a pencil in the middle of your back. The motion of your arms should primarily come from your shoulder blades. It’s best to go slowly during this exercise for maximum output. Repeat in a T and Y shape. For the I’s your thumbs should point down, with the T’s your thumbs point toward your head, and with the Y’s your thumbs point to the sky. I like to use 1 lb weights for this one and I do about 10 reps of each, without dropping my arms, as a set.
Exercise 3: Paper Plate Push
For this exercise you’ll need a paper plate or similar object. File folders or even a paper grocery bag can work well. Starting in a planche position with one hand on the plate, push the plate in clockwise and then counter clockwise circles. Try to keep your body as level as possible however shifting your weight over the plate is a good way to increase the resistance. To scale this exercise up you can start with your hands wider or even do a 1 arm pushup as you push the plate around. To scale it down you can do it in an assisted pushup position on your knees or against a wall (watch the paint job!). I do 10 circles in each direction on each arm as a set. Challenge: what other exercises can you come up with using the sliding plate technique?
